This past weekend I celebrated my friend Stacy's birthday. Unfortunately, no pictures were taken, but we had a great time going out for drinks. I was pretty busy the last week, trying to put something together for my mom and aunt. Their birthday was Sunday, and I am happy with the way the signs turned out. The original tutorial can be found, here.
It all started off easy...
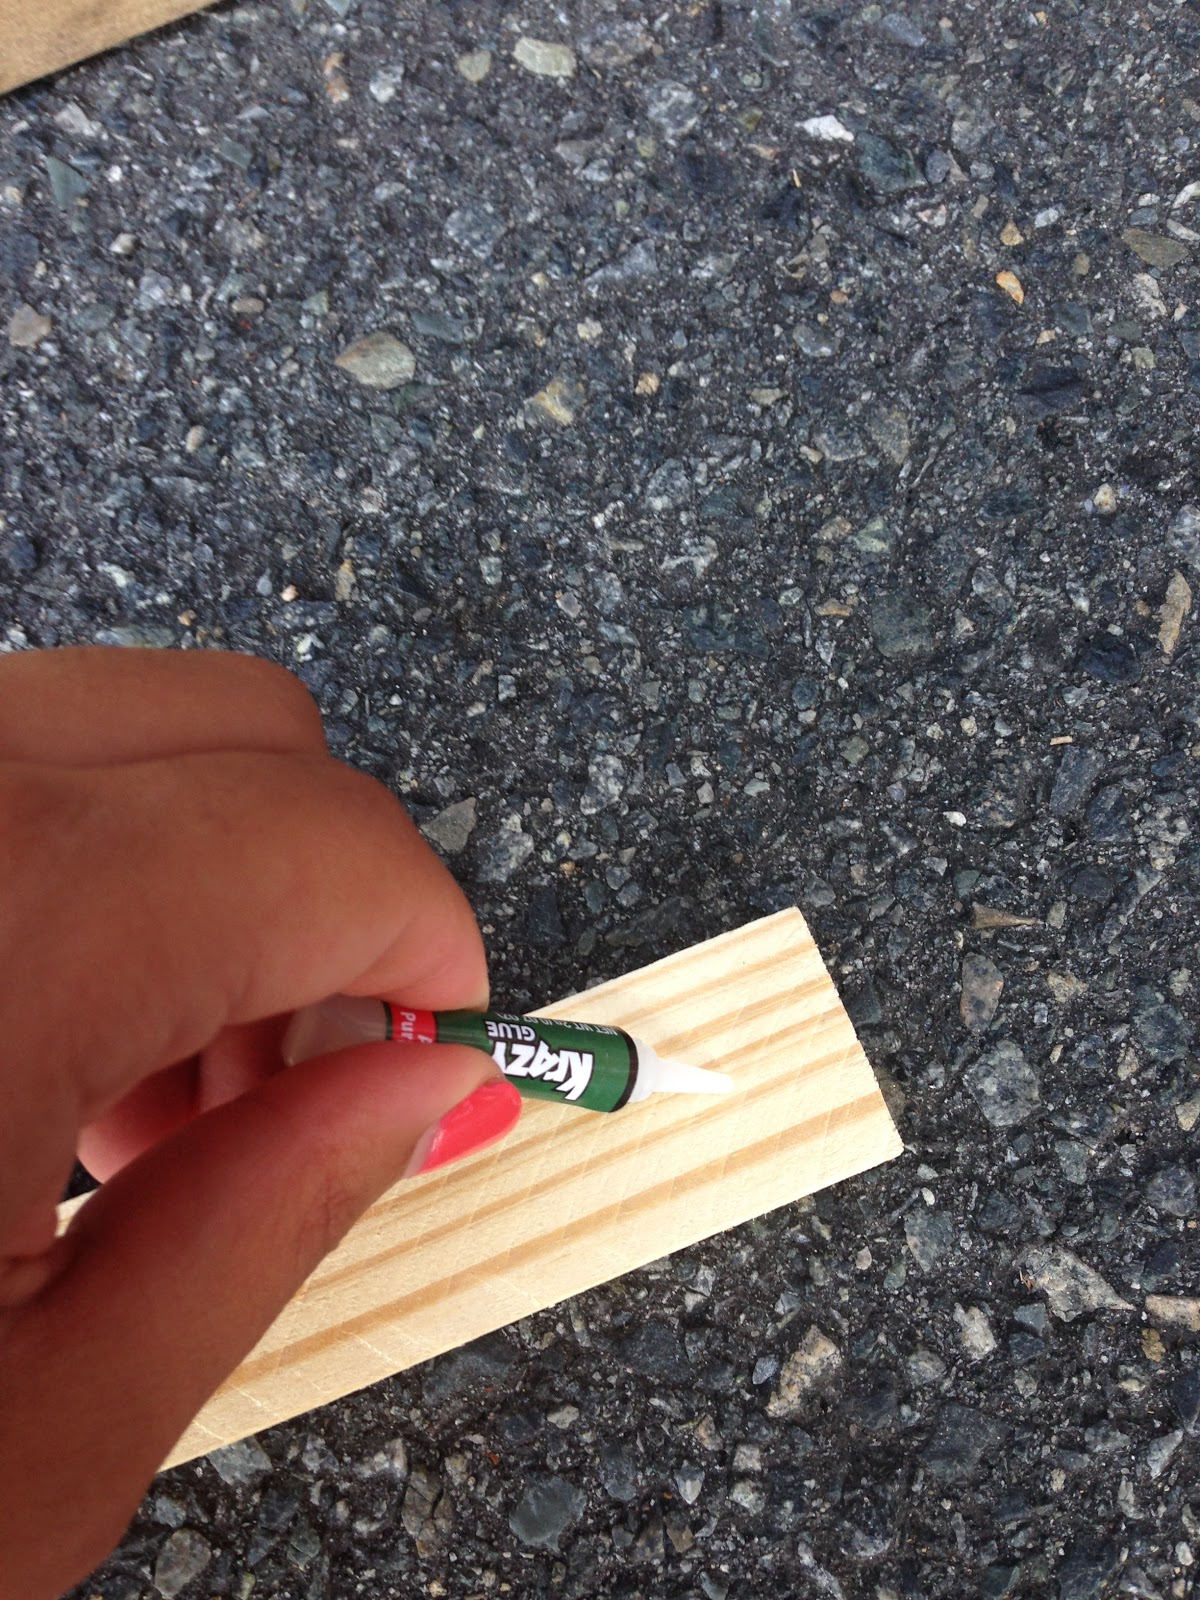
I went to Lowe's, and was able to find pre-cut pieces of wood in their lumber section. I was so happy when I found the slabs, because I didn't have measurements, and didn't want to try to guess. I had super glue, and although it worked, I wish I had bought wood glue. I went through the super glue so fast, I had to run back and forth buying more tubes. I bought the paint at Lowe's also. They have small tubs for testing that are perfect! I don't use paint for much, and didn't want to spend a lot on an entire can.
What You Will Need:
4 pieces of pre-cut wood
Wood glue or Super glue
Wood stain
Sponge and Paint Brush
Paint
Shims (used on the back, to allow for hanging)
Stencils - Letter//Numbers//Words//Birds
 |
| I laugh at that tiny tube of super glue....what was I thinking. |
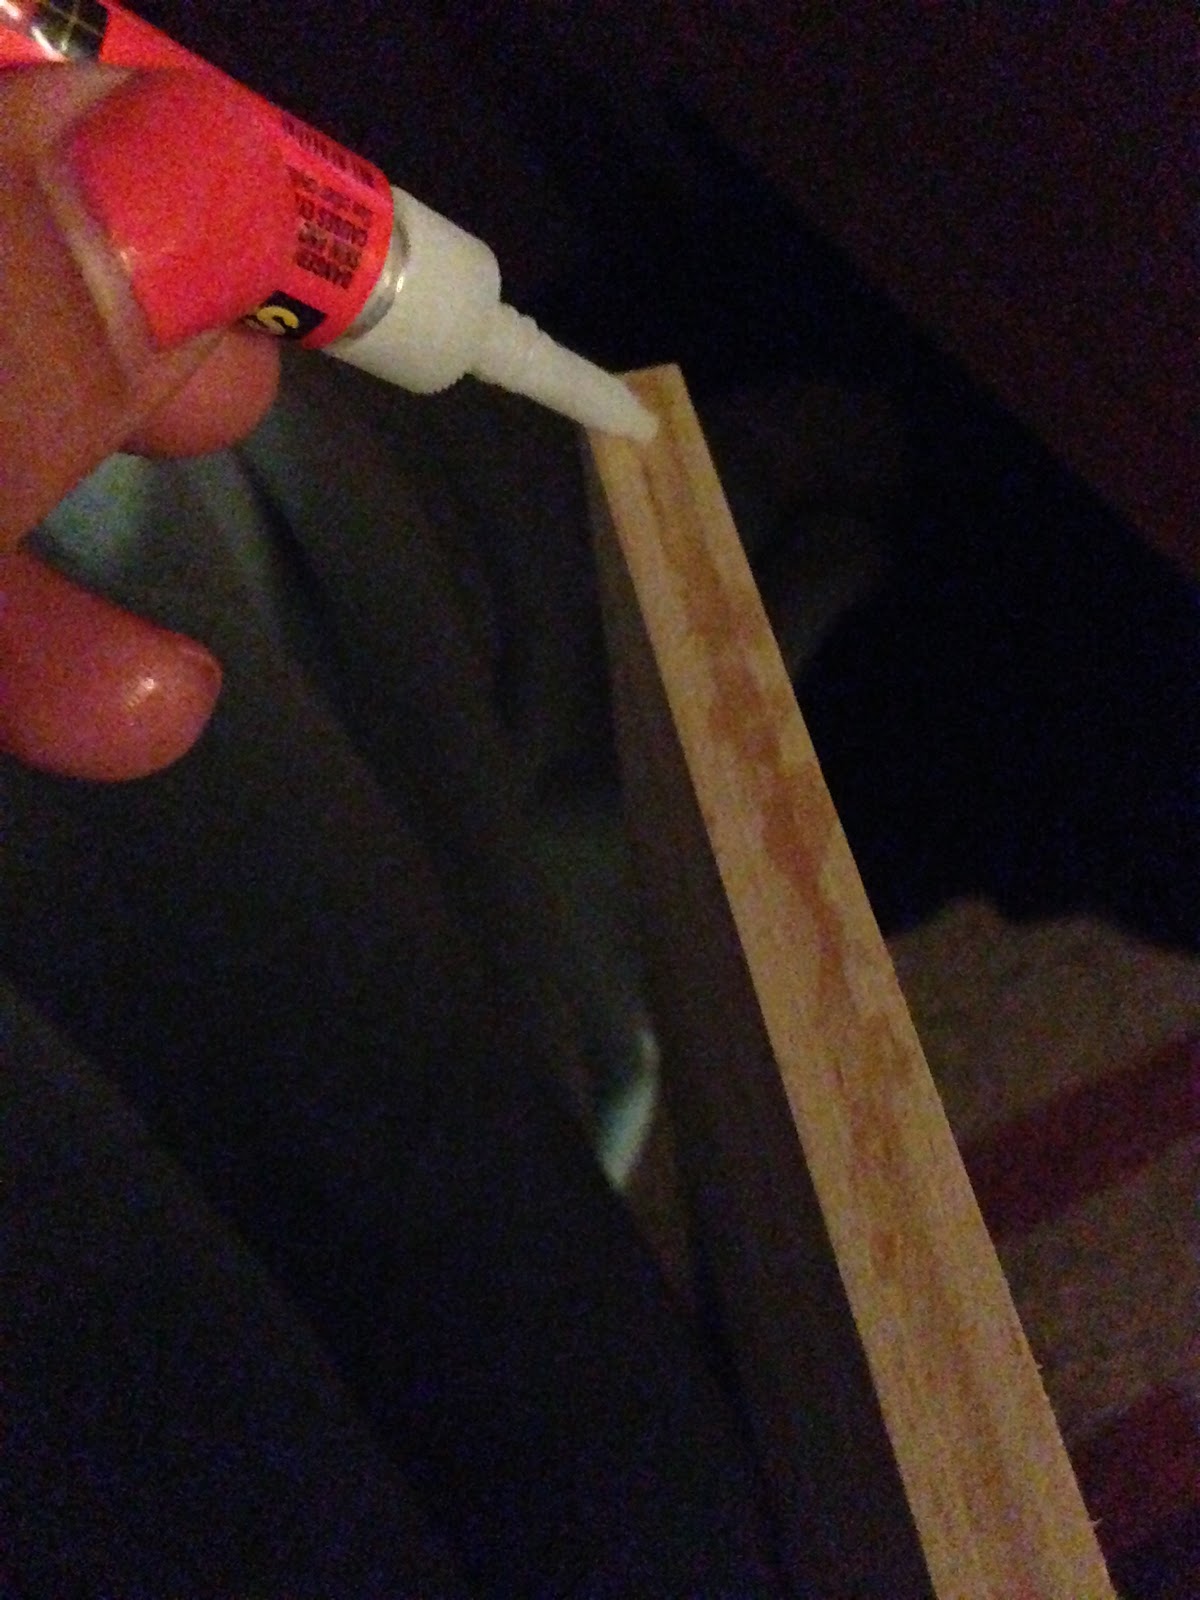 |
| Add glue and hold the two pieces of wood together. |


 |
| Add stain and allow to dry. |
I was trying to finish quickly, and didn't take my time paint the tree. My aunt told me to take my time, and not to mess up....I was thinking - I got this....
 |
...no I did not... |
Be sure to make the trunk and the branches skinny. You want to make sure to leave enough room to add leaves. I used a sponge, and cut out a small leaf. I dipped my leaf sponge in the paint, and applied the leaves.


After looking up a picture online, I drew on a bird...of course with pencil. We all saw the tree disaster earlier. If you have a printer, I would print the bird out and use as a stencil. All the birds will be the same size, and you could print out a smaller bird for the children.

I had to use the back of the board....ignore the barcodes. Fill in the birds with your color of choice!

 |
| Use stencils for the words. I used a permanent maker for the last name. You can also use permanent maker paint...up to you. |

You may want to have something to help guide the letters. As you can see, my letter are not spaced well, and it's not straight.....unless you like that sort thing - Do your thing!


That's it! Once again, maybe use a ruler to help you get the stencils aligned. You can also print out what you want said on paper and trace the numbers using a pen to create an indention. I'll show you what I mean on the next project. It'll help keep the letters aligned. Every time I went to the library, it was close. We don't have ink for the printer...so I had to find another way. Also, maybe wait for the stencil to dry if you have to use it more than once. As you can see my 9 is a bit smeared. I love the way it turned out none-the-less.
Hope you all have a great day!
No comments:
Post a Comment